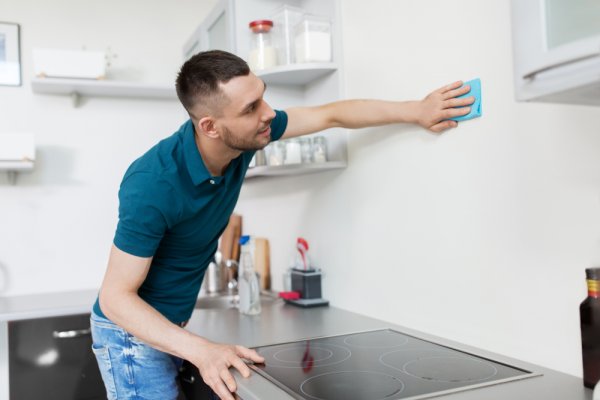
1.Kitchen wall cleaning
Home cleaners suggest utilizing correct cleansing brushes to do your work sooner and cut down on the required travail.
Dish racks and drainer mats are a wieldy choice for your moist dishes. Always consider the size and kind of your utensils before buying one. Eco Friendly and biodegradable coir water bottle cleaning brushes are fantastic compared to the available ones in the market. A dual-sided lint remover brush can remove all the dirt and lint from your kitchen garments. If you’re on the lookout for some luxury, cinnamon-scented brooms are the newcomers out there. They can add a pleasing fragrance to your kitchen corners.
Here are some of Dubai’s most exemplary kitchen cleansing ideas by prime residence cleaners. According to residence cleaners, choosing the right accessory makes kitchen cleansing an arduous task or an easy job. Here is information that helps you pick the right cleaning equipment for your kitchen. So let’s flip this coin; here comes probably the most challenging bit, the cleansing part.’ Kitchen cleaning is one of the essential and fundamental issues to do. It’s a half of hygiene, and to be healthy, what we intake must be cooked in a hygienic environment.
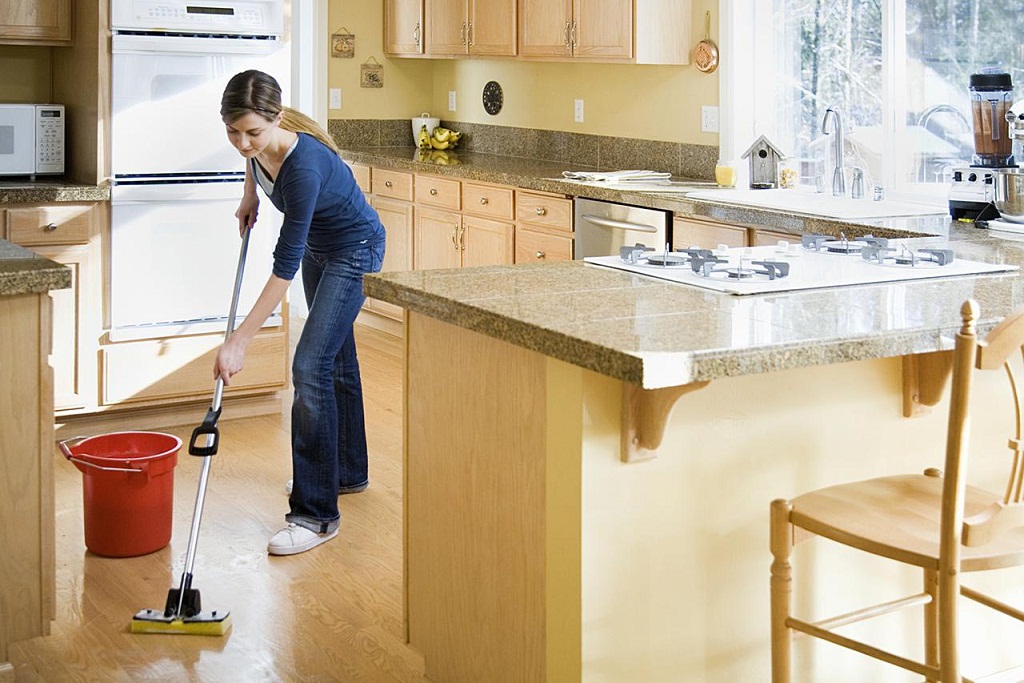
2.KITCHEN FLOOR CLEANING
Empowers purging with out arms inside the residue water and with out bowing down; this self-washing and self-wringing framework makes purifying simple and decreases cleaning time! Ideal for purging a wide range of floors, your hardwood flooring, overlay, tile, vinyl, stone and surprisingly concrete. The horde manage is produced using steel and is solid adequate to withstand applied strain to eliminate those hearty and cussed ground stains. You can change the size of the hard ground surface mop with a simple wind and lock framework to change it to your stature! Microfiber mop heads work pleasant wet or dry; Keeps your hands out of dirtied water. Wash the Mop every now and again in another sink, or a novel can.
Change the wiping water as fast as it cools or becomes filthy to avoid depict soil back onto your floor. For difficult to accomplish corners and edges, wash with a paper towel or purifying cloth. Before you use cleansers on vinyl floors, endeavor wiping with warm water exclusively. Regularly cleanser is superfluous, and the starter wash slackens soil. When the vast majority of the loosened foulness and soil is up, dunk your Mop in the appropriate response and wring it out with a wringer or manually. Try not to make the Mop excessively wet as the trickling can injury a deck or produce expanded drying occasions.
For cussed stains, thoroughly clean the region using a nylon brush or cushion with a blend of water and bicarbonate of pop. Then, clear the ground, trying to get the foulness from corners and under home gear.
Royalford provides top-quality Mop with the container in your consistently purifying concerns. It has colossal thin microfiber strands with extraordinary retaining ability, adequately killing the foul fluid without harming your ground surface. The arrangement with the point could likewise be changed from 45 to one hundred eighty levels for the most open to wiping position, making specific no strain in your arms while you Mop
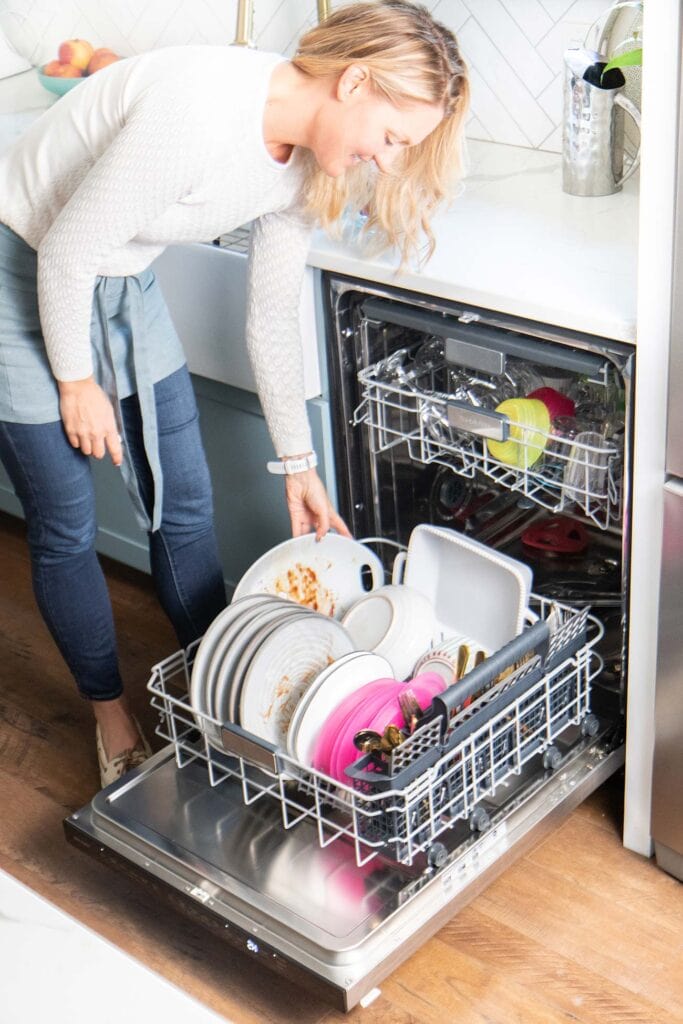
3.Dishwasher cleaning
I was thinking about how to clean a dishwasher that scents? A messy channel is a decent spot to begin. The drain traps bigger food particles to avoid obstructing the dishwasher’s canal. Notwithstanding, the virtual channel will become stopped up and smell awful when these particles rot without ordinary cleanings.
These dishwasher cleaning tips detail how to clean the channel and dispose of terrible stenches:
- Access the channel by eliminating the dishwasher’s base rack.
- Follow the bolts on the channel to turn and open, pulling it up to deliver.
- Run the channel under running water, cleaning tenderly with a cleanser and an old toothbrush to eliminate complex particles.
- Reposition the channel, turning the other way to secure.
- Replace the base rack dishwasher cleaning
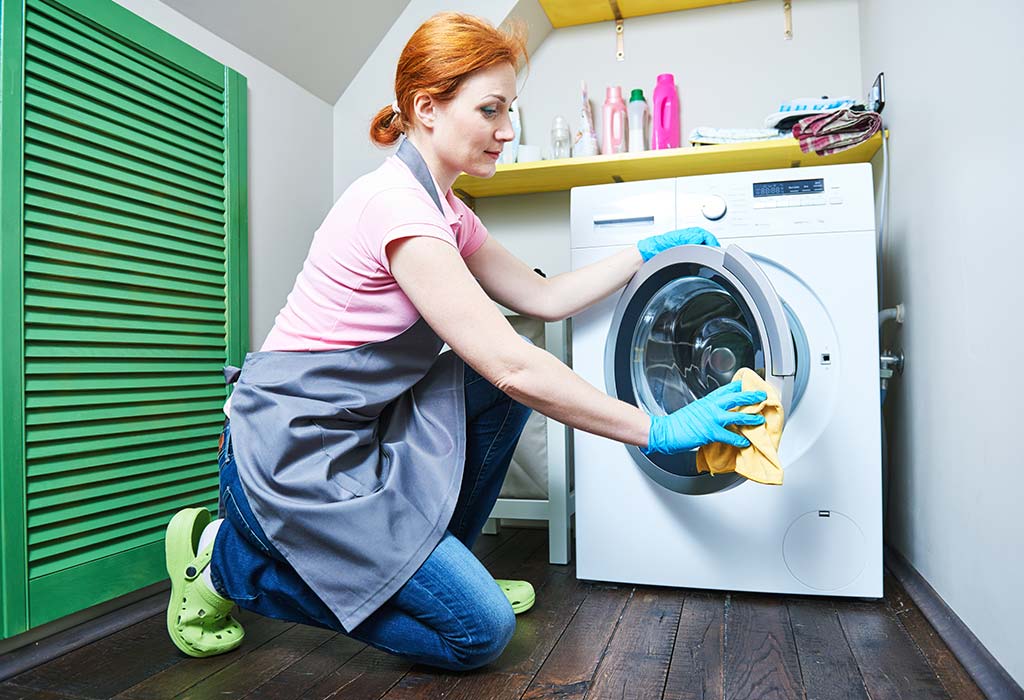
4.Washing machine cleaning
Gather Your Cleaning Supplies
You’ll need:
- Distilled white vinegar
- Baking soda
- Spray bottle
- Microfiber cloth
- Toothbrush
- Spray the Washer Drum With White Vinegar
Add your white vinegar to a spray bottle and spritz the inside of the drum. Wipe all around it with a microfiber cloth, leaving no surface untouched. (White vinegar is one of nature’s best cleaning products—it cuts through residue, buildup, hard water stains, and even grease effortlessly.)
- Wipe Around the Rubber Gaskets
Next up, the rubber gaskets (the seals around the door) need some serious TLC. As you wipe around them, you’ll probably find scum, mildew, and even hair. Wipe it all away!
- Pour Distilled White Vinegar Into the Detergent Dispenser and Run the Washing Machine With Hot Water
Measure out two cups of distilled white vinegar and pour it directly into your washing machine’s detergent dispenser. Set the washer to run on its longest cycle with the hottest water.
- Add Baking Soda Directly Into the Drum and Run the Washing Machine Again
Sprinkle half a cup of baking soda directly into the drum of the washing machine and run it on the same settings (highest and hottest)
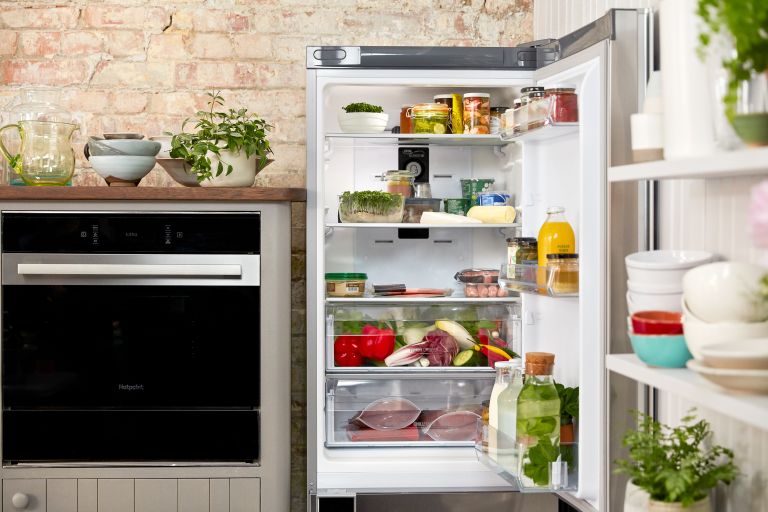
5.Fridge cleaning
Your fridge needs a deep clean every 3-6 months. Start by emptying all food from the refrigerator. Bacteria can multiply quickly at room temperature, so put dairy products, meat, and other food that must be kept refrigerated in a cool bag packed with pre-chilled excellent bag blocks. It’s a good idea to deep clean the fridge before the weekly shop when there will be less food in the fridge anyway.
Bin any food that is clearly past its prime, anything that is past its use-by date, and any suspicious-looking jars that have been lurking around a while. Capers, we’re looking at you now turn your attention to the inside of the fridge itself. Avoid using hot water at this point; it can raise the fridge’s temperature, which will delay how quickly you can get your perishable food back in. Instead, make up a solution of with cold water, wipe down the interior, and place the shelves and salad crisper drawers. If you have a , wait until the temperature inside the fridge falls to 5°C before replacing the food. If your fridge has a fast-cool function, use it to speed up the cooling process.
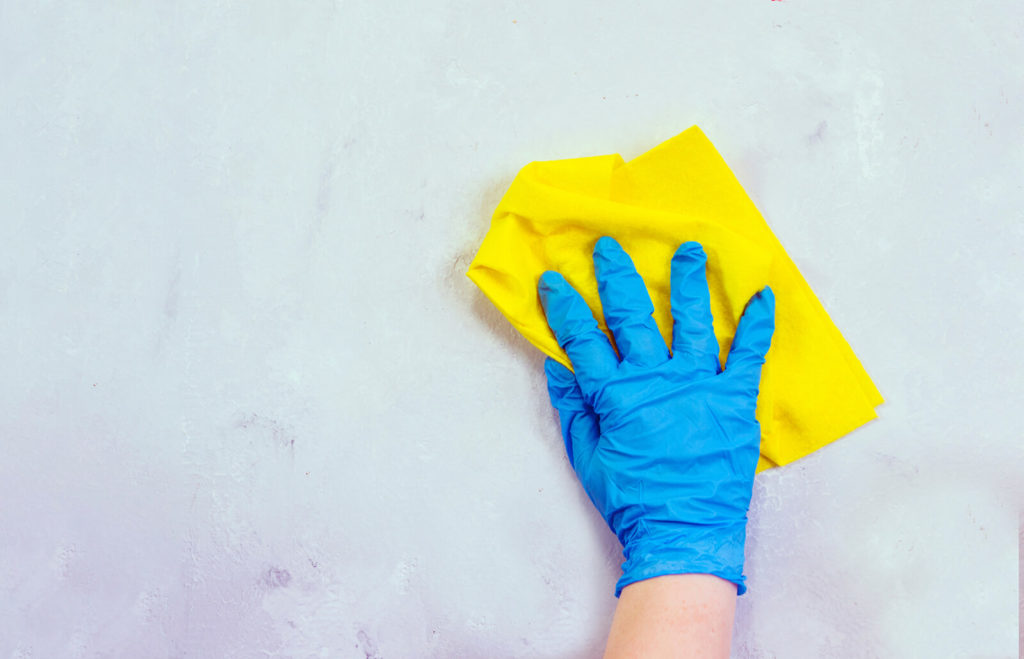
6.Wall cleaning
First, lay dry towels along the baseboard of the wall you’re cleaning to catch excess water. Mix 1 tablespoon of soap per 4 cups of water in a bucket or bowl. Using one of the soft sponges, wipe down the wall and work the soap into the dirt. Once the wall is covered use the clean sponge to rinse with water. Wipe away excess water with a clean, dry towel.
Repeat the steps above until your space is fully clean.
Don’t want to go through the process of making your own cleaner? Gentle cleaning wipes, like BEHR Swipes Interior Wall Wipes, are safe for cleaning walls quickly without the danger of
stripping away existing paint
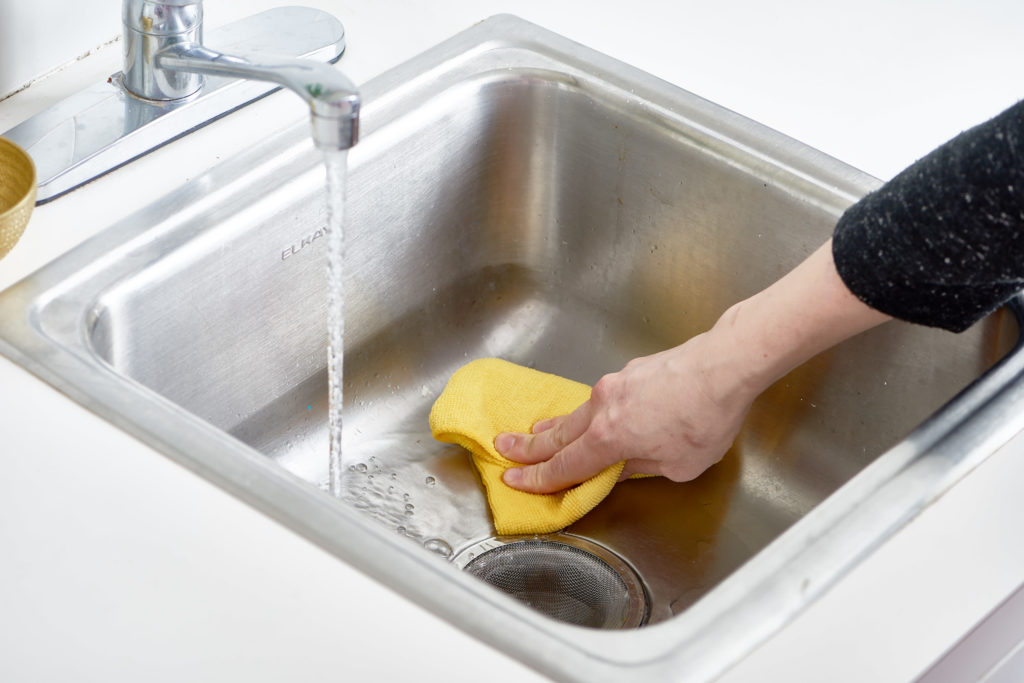
7.sink cleaning
- Regularly drying your sink works wonders to prevent water and surface rust marks.
- To keep your sink looking fabulous, do a quick, light cleaning each time you use it. Clean up waste residue before it dries and don’t let liquids sit for long.
- Wear rubber gloves when working with cleaners to protect your hands.
- Never mix cleaners. Some products react to create dangerous gases.
- There are thousands of blended or compound cleaners on the market. Users are advised to contact suppliers of solvents for information on their applications on stainless steel.
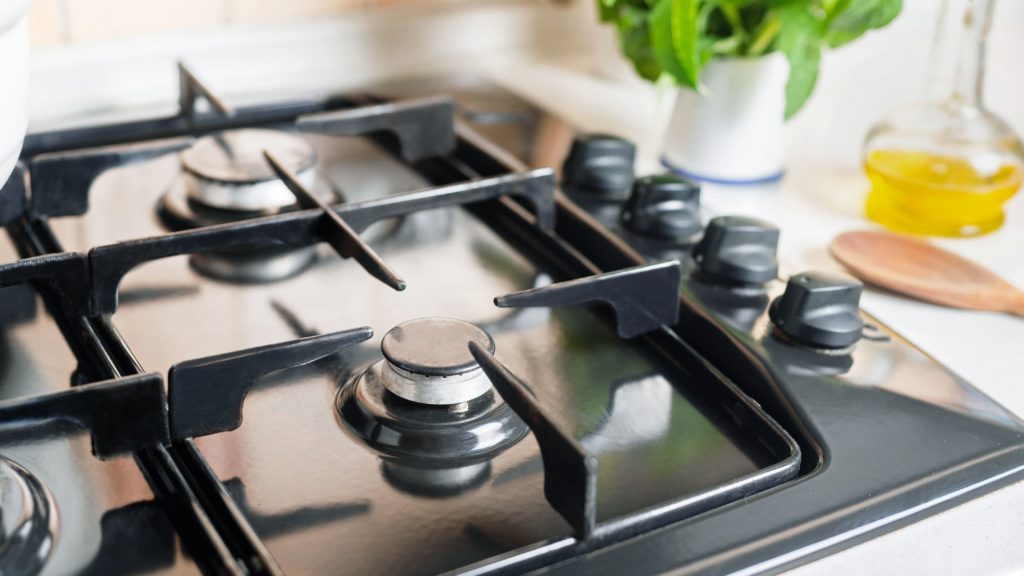
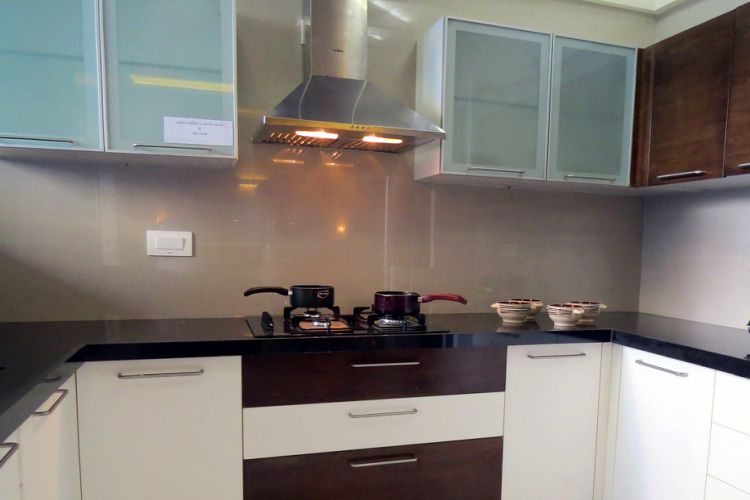
8.cleaning gas stove
- Get your supplies and start by removing the grates and burners from the stovetop.
- Wipe away any dry debris at this stage and don’t scrub.
- Soak the grates and burns in soapy water by adding in a few drops of dish soap.
- Take a look at the fuel ports of the burners to see if they are clogged. If they are, use the brush to clean them up and unclog them. Clogged burners pose a hazard in the kitchen which is why this is important.
- Time to clean the stovetop! Scrub it clean by using the side of a sponge soaked in a few drops of dish soap. Work in circular motions, squeeze out the liquid, and add dish soap in drops. Don’t go crazy on soaking with the dish soap since too much will saturate the fuel ports, forcing you to wait until it dries out.
- Finish the cleaning process by rinsing the stovetop and the sponge. Use water to rinse, and dry with a kitchen towel to finish
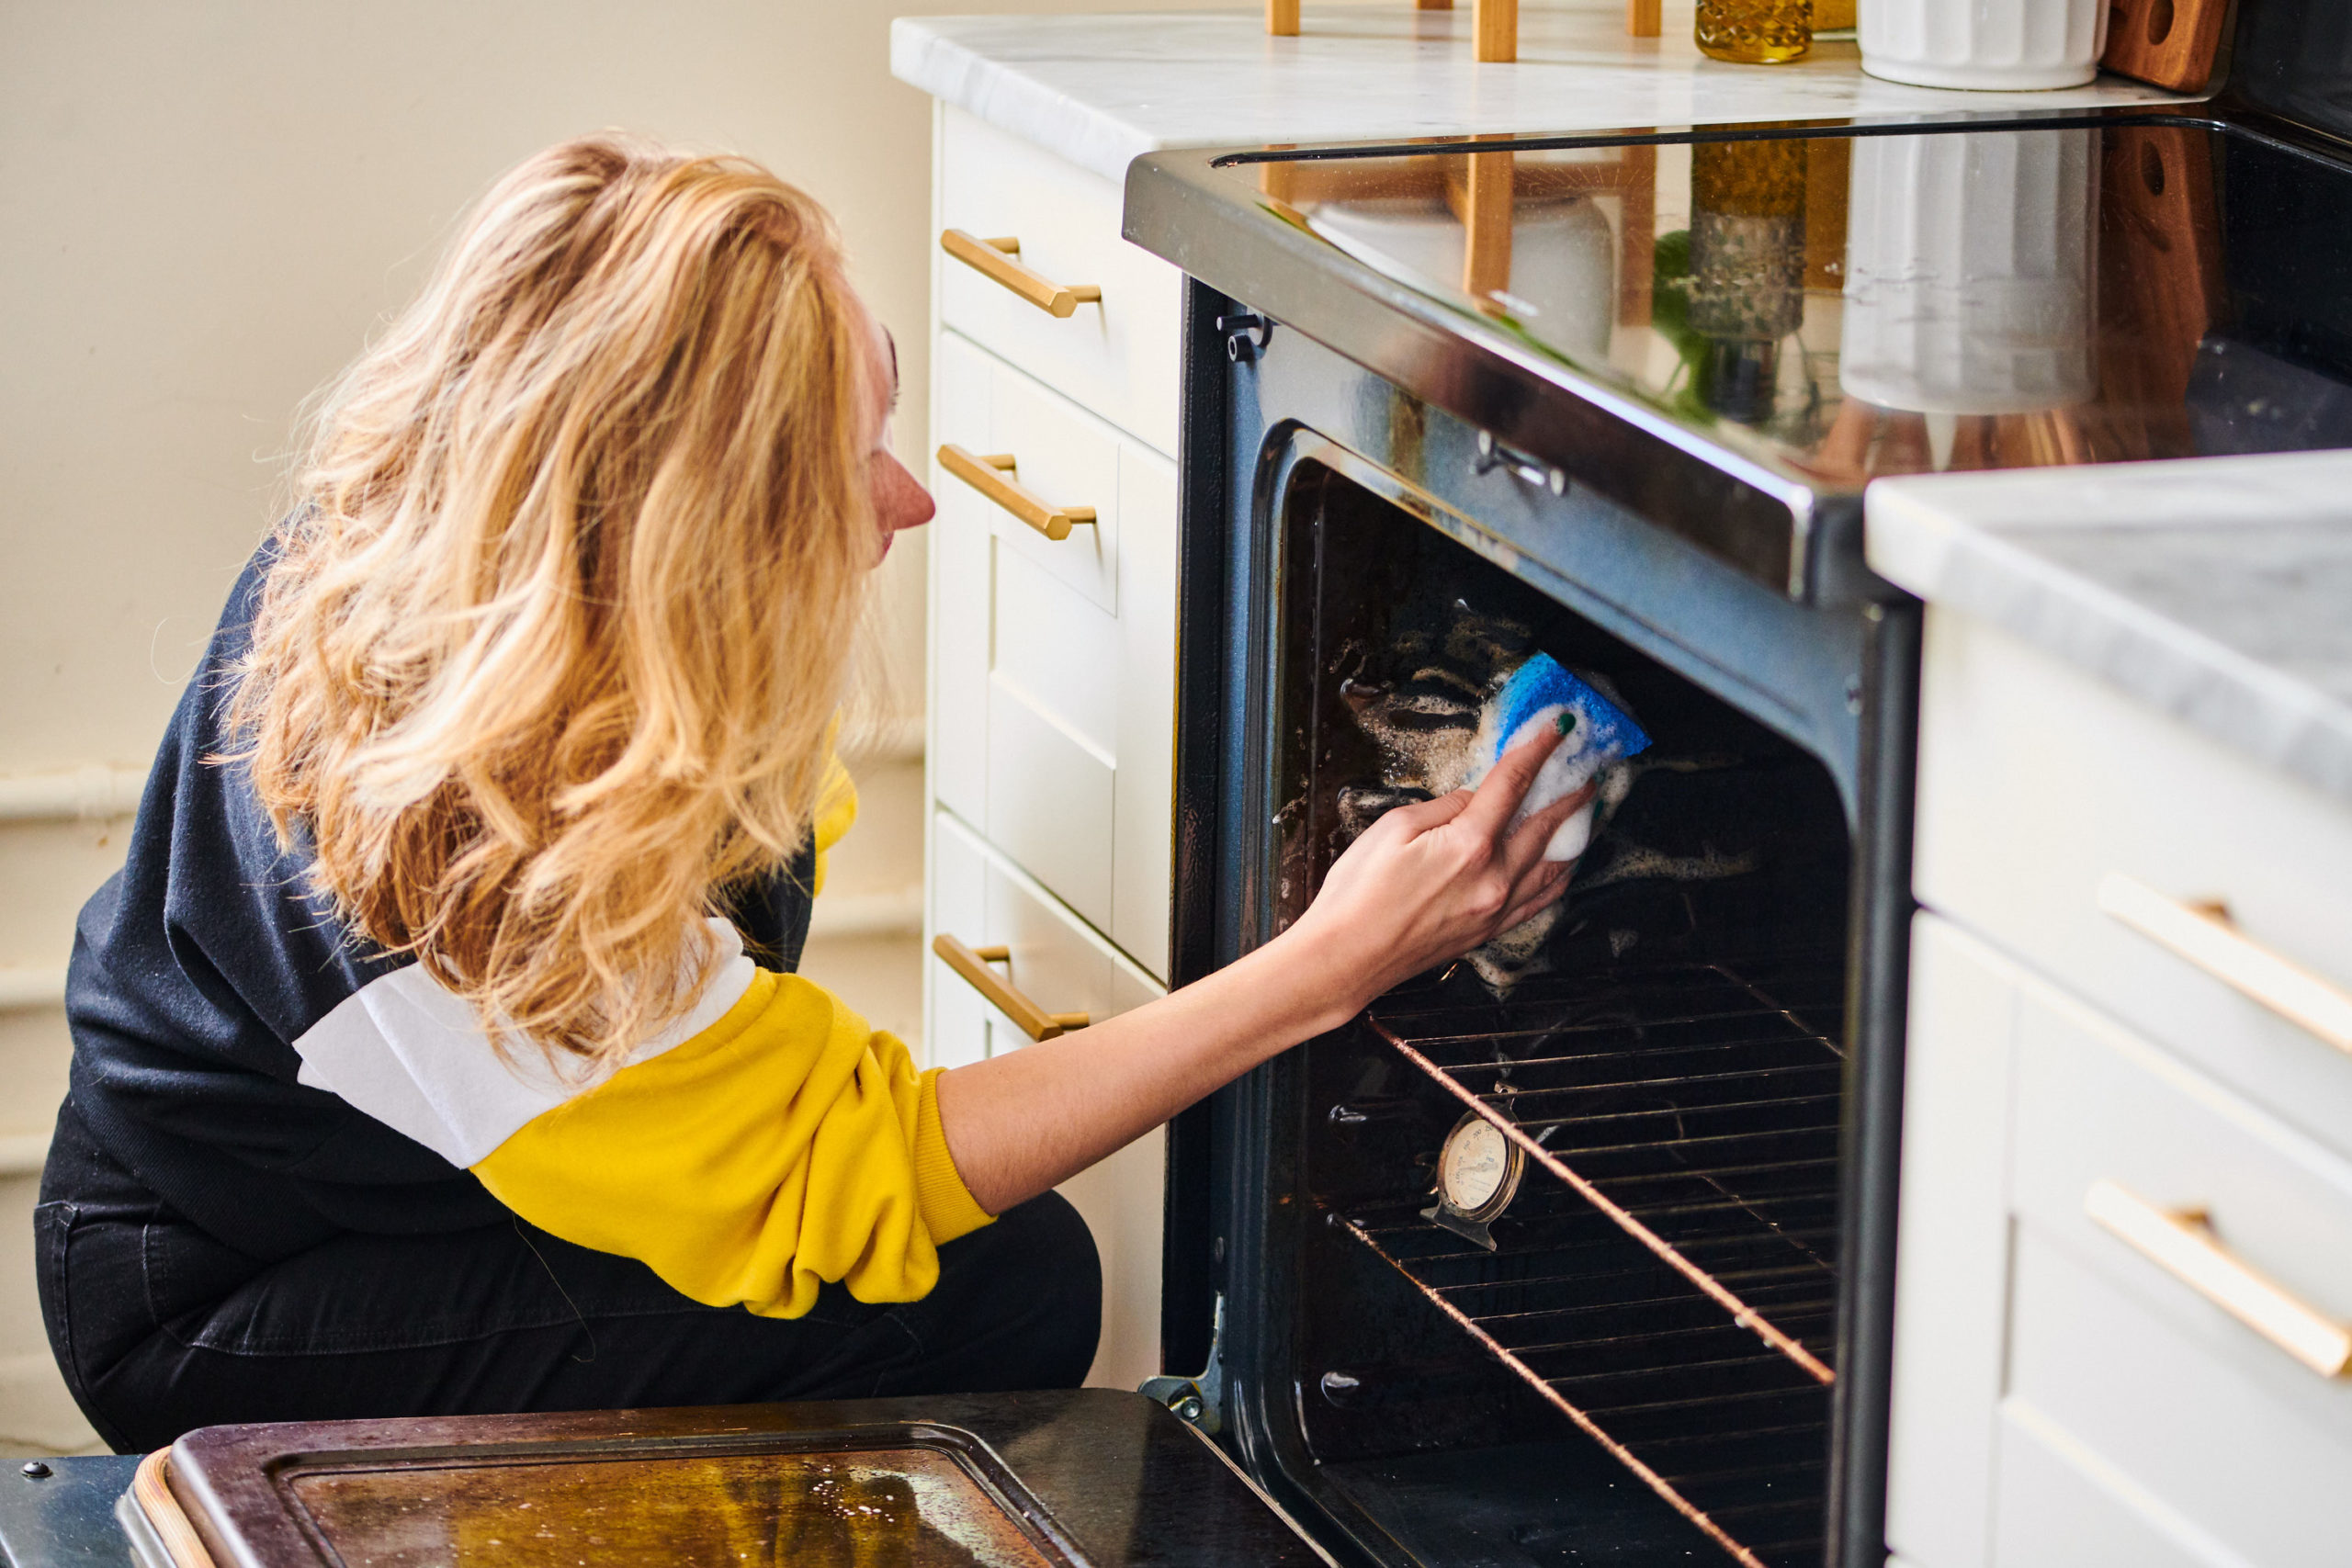
9. oven cleaning
- A quality cleaner: You have several options here.
- Store-bought oven cleaner: This is the easiest, fastest process and will remove severe amounts of grease and grime. The caveat: oven cleaner can be quite caustic, so if you’re sensitive to harsh chemicals or prefer an all-natural approach, you may want to choose option 2 or 3, says Johnson.
- Baking soda, water, vinegar, and a spray bottle: This DIY method is good if you have lots of buildups. You’ll be making a paste with baking soda and water that will need to sit for 10 – 12 hours (or overnight), so make sure you carve out enough time.
- Lemons (2) and water. Another DIY option takes about 1 -2 hours; good if your oven is only mildly dirty and your racks don’t need cleaning.
- Rubber cleaning gloves: Please no disposable gloves. This is especially important if you go with option 1, as you’ll want a heavy-duty barrier between your skin and the cleaner, says Johnson.
- Protective safety glasses: To guard your eyes against the cleaner. You won’t need these with options 2 or 3.
- Old newspapers or paper towels: To pad the floor around your oven in case anything drips out while you’re cleaning.
- Damp cloth rag(s): To wipe off the grime once the cleaner has been applied. You may need more than one if your oven is especially grimy.
- You are scouring pumice or microfiber sponge (optional): Helpful if you’re tackling lots of buildups.
Large plastic garbage bag: You’ll need this to clean your oven racks with option 1.
10. chimney cleaning
Ways to clean a kitchen chimney:
Using dishwashing liquid: Remove the filters from the hood and apply some dishwashing liquid to them. Take hot boiling water in a tub deep enough to immerse the filters. Leave them for around an hour or two. After a while clean the filters using a non-abrasive scrub. Let them dry and they are ready to be placed in the chimney.
Using baking soda & vinegar: You will need some kitchen supplies like baking soda, vinegar, and salt. Put the filters into a tub and pour boiling hot water. Add 2-3 tbsp of baking soda, salt and a cup of vinegar. Let them soak for a while and then clean properly.
Using caustic soda: Similar to the above method, take a tray or tub, sprinkle the caustic soda evenly over the filters and then pour boiling hot water. Take proper precaution as fumes will appear once you pour the water. Let it rest for an hour or two, rinse with clean water and they are ready to be fitted again once dried.
Cleaning the exteriors of the hood: You can use a damp soft cloth to clean the exterior body of the chimney. In case the grime is more you can use some cleaning detergent and then wipe clean with a clean cloth.